
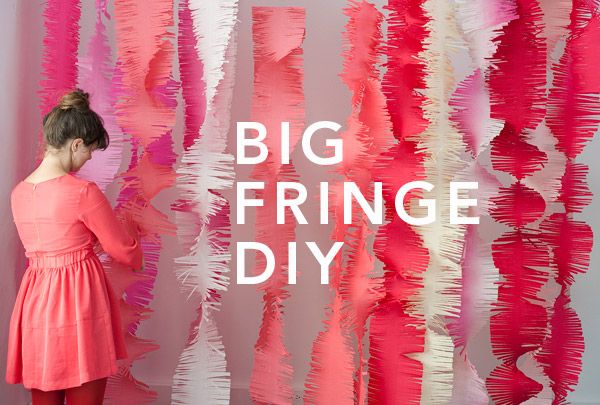
DIY Fringe Garland by Oh Happy Day
Wednesday, February 06, 2013Bringing in some fun DIY today via Oh Happy Day. It's fringe garlands! It's just so fun to do and easy too!
You'll be needing:
- Folds and folds of crepe paper
- Scissors
- Tape
Step 1: Cut the roll of crepe paper in half (you may need a box cutter for this)
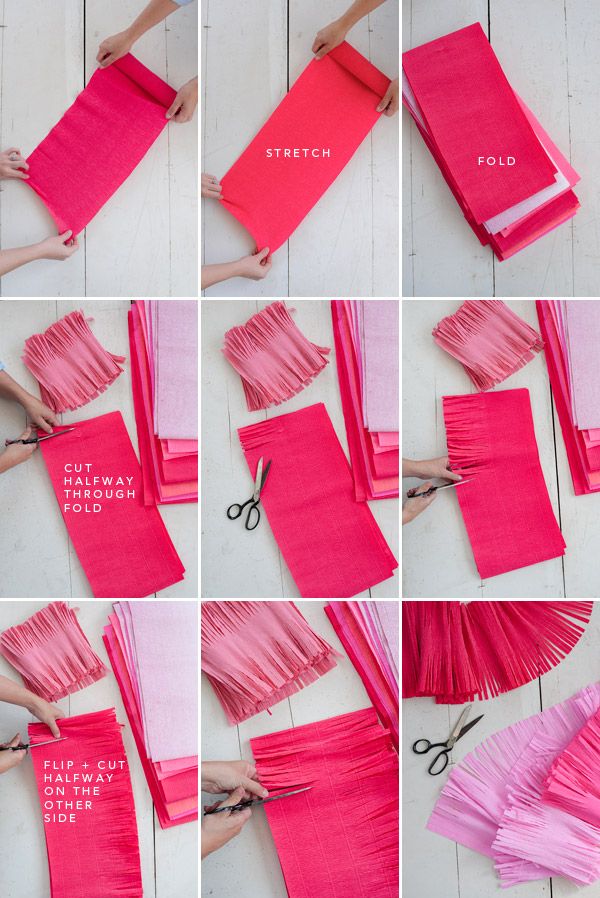
Step 2: Take the roll of crepe paper and with another person's help, have each person stand at an end and pull until most of the stretch from the paper has been removed. (To speed up the process you can do these two at a time.)
Step 3: Fold the paper together.
Step 4: Begin cutting fringe halfway through the fold, leaving some space in the middle.
Step 5. Turn the fold over and finish cutting the opposite side of fringe. Be sure to not cut all the way through.
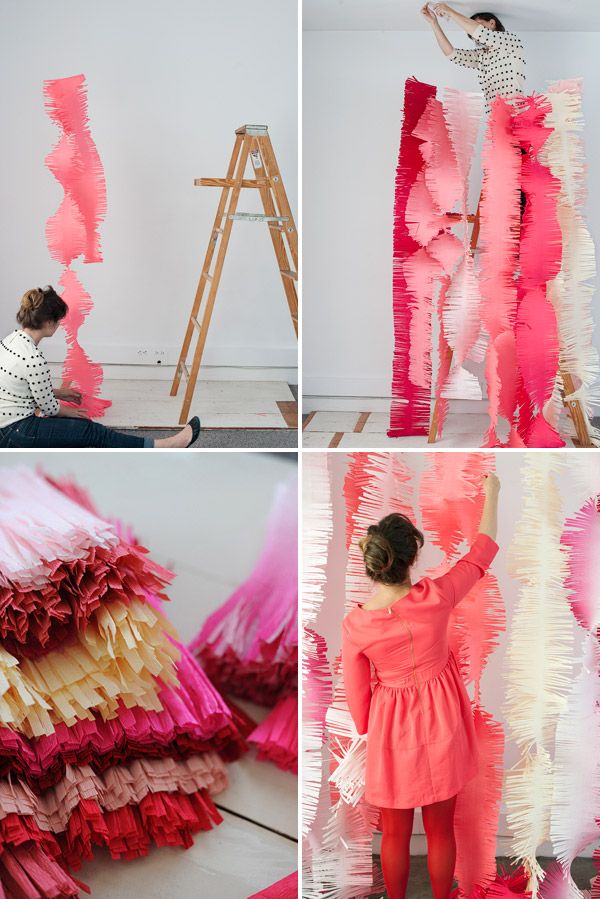
Step 6: Attach one side to the ceiling and let the other side fall to the ground. Twist the bottom to create twists in the crepe paper. And you are done!
This would really look great on photo booths or as a backdrop for your ceremony. And I can imagine using this with any color combination you love. Hope you had fun lovelies!

Wishing you a colorful day! xoxo


0 comments